These three tips to improve Low Light photography are going to improve your images, irrespective of the equipment you use.
However if you have a full-frame sensor or you shoot in Raw, not jpeg, your results will be even better.
It is also worth remembering that our eyes are far better than our cameras. Our eyes see a much broader range of light, called ‘dynamic range‘.
The term ‘Low Light’ covers a huge range of different situations. My definition here is to say that it means undertaking photography before the sun has risen or after it has set. At these times there is no direct sunlight at all and this is when photography is fun and challenging and can provide you with your VERY BEST shots of the day.
The two problems that confound photographers achieving a good result in conditions of low light are, (a) blurry out of focus images and (b) lots of ‘noise‘ spoiling the overall look of the picture.
Out of focus images are generally not what people want and there is little you can do to correct it. Noisy images are a fact of life in digital photography but there is a lot software available to help you minimize it, in post-production.
Three tips to improve Low Light photography – Tip no 1
Use a tripod. I cannot over-emphasize the importance of this. Using a tripod is a fundamental ‘building block’ of good photography and specially low light work. You don’t have to have a big heavy tripod, any tripod is better than no tripod.
Three tips to improve low light photography – Tip no 2
Set your camera to a high shutter speed and this depends on the lens that is fitted. For instance for a 24mm lens, a shutter speed of at least 1/50th is necessary. For a 300mm lens, a minimum of 1/200th is required. To achieve a higher speed you will have to decrease the aperture, this will allow more light into the camera. So taking the aperture from f 16 to f 5.6 will be a positive improvement.
Three tips to improve low light photography – Tip No 3
Increase your ISO
This is where having a full-frame camera is a big advantage as it has a larger sensor. On a full frame camera you will get good results with an ISO of 2000, whereas on an equivalent crop frame camera at the same speed, the ISO will be no higher than ISO 800. The lower your ISO the lower your speed. A rule of thumb is ‘ doubling the ISO, doubles your speed, but doubles the noise’ a tricky conundrum. The skill comes from knowing what you want to achieve from a photograph and making the appropriate decisions in setting your camera
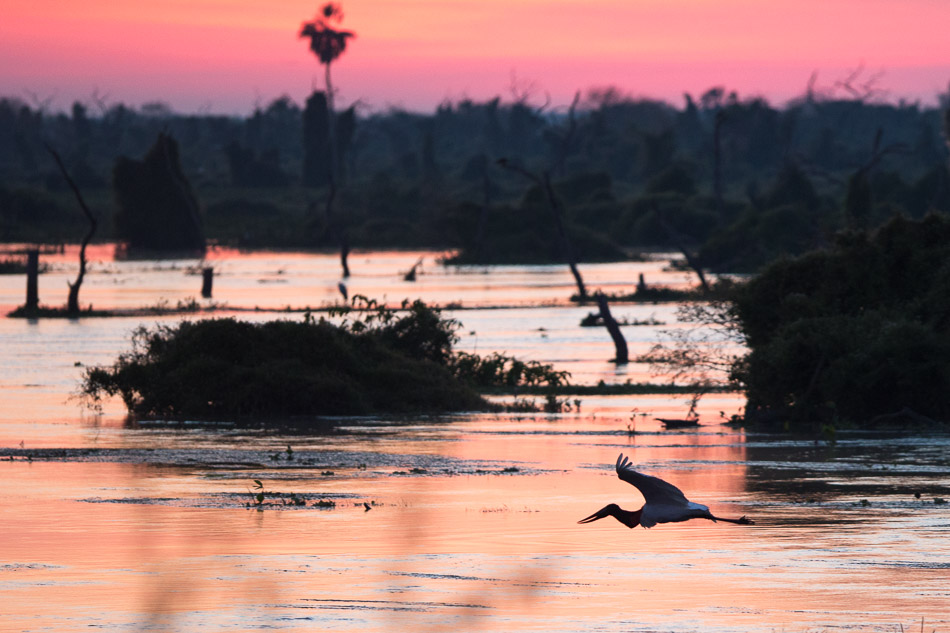
ISO 2000, f3.2, 1/800th sec
In this pre-dawn shot I wasn’t bothered about the out of focus background, inevitable with an f3.2 aperture. I wanted a sharp flying bird, but not too much noise so an ISO of 2000 was not ridiculously high and it gave me a speed that just made it possible to get a good photograph. This combination of settings would not have been successful without a tripod.